By Beth Brown, Kitchen Store Specialist

Thanksgiving is right around the corner, and if you’re like me, Thanksgiving is all about the pie.

Sure, turkey is great, but as a baking enthusiast, pie is the real reason I’m excited for Turkey Day.


For our Dessert Shop Demo, we made a little twist to the traditional pies, and I do mean little!
Using the USA Pan Crown Muffin pan made the process of creating these tiny single serving pies much easier.

Not only did the extra edge provide the perfect way to make flare and pinch the crust tops on the mini pies, but the silicone non-stick coating with a spritz of Vegalene spray made it easier to get the pies out when they were done!
This tried and true pie crust recipe was flaky and crisp, and really easy to work with:
Ingredients:
21⁄2 cups unbleached all-purpose flour
1 teaspoon salt
1 teaspoon sugar
1 cup (two sticks) chilled unsalted butter cut into small pieces
1/4 to 1⁄2 cup ice water
Preparation:
Combine the flour, salt and sugar in a food processor. Pulse a few times to combine.
Add the butter pieces. Pulse 12 to 15 times, holding each pulse for one second. The
mixture should resemble coarse meal with some pea-size butter lumps.
 Add 1/4 cup of ice water in a slow steady stream through feed tube and pulse 2 to 3 times. Pinch a small amount of the dough with your fingers to see that it holds together. If the dough does not hold together, add more water, 1⁄2 tablespoon at a time, pulsing until incorporated; then test the mixture again. Turn the dough out onto a silicone mat, and divide into two equal portions. Place half of the dough mixture on a large square of plastic wrap, with the heels of your hands press the mixture together until the dough forms one piece.
 Flatten into a disk and wrap well in plastic wrap; repeat with the remaining dough. Refrigerate the dough disks until firm, at least 1 hour. Can be kept in the freezer up to 3 months. Before rolling out, remove the disks from the refrigerator, and let stand at room temperature for 20 to 30 minutes to soften.
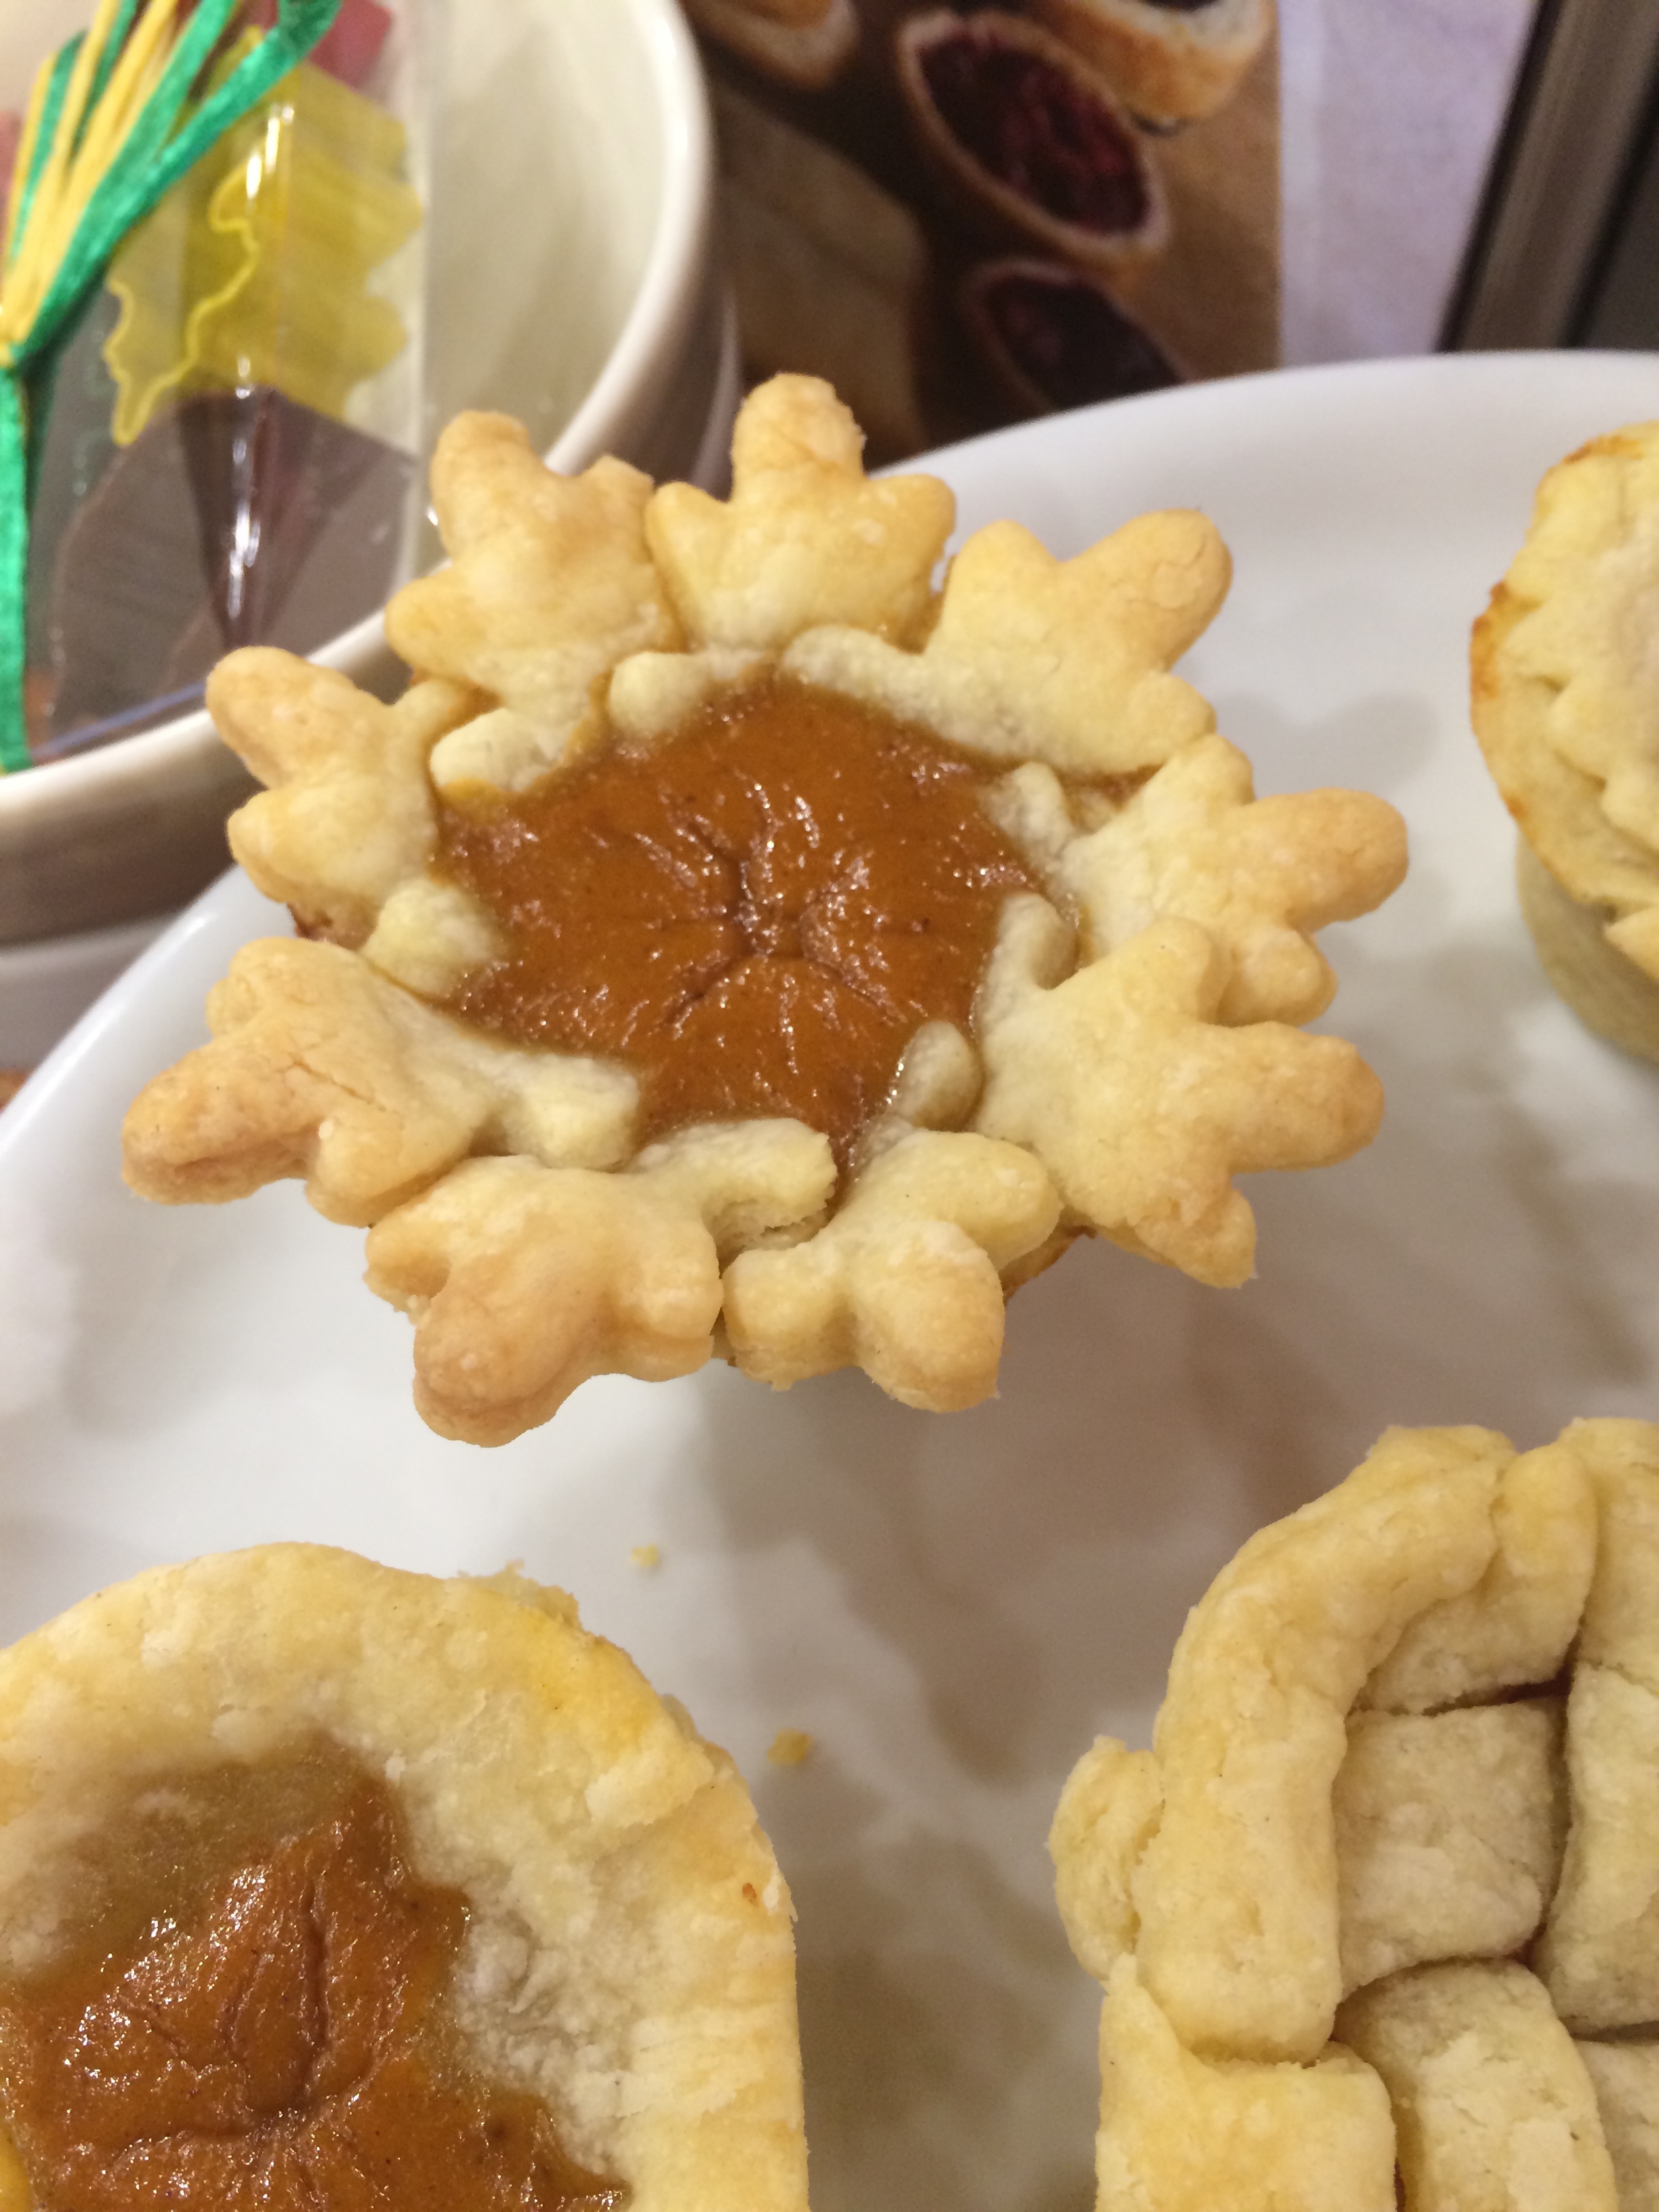
We used round scalloped cookie cutters, as well as leaf-shaped cutters, which would also be a showstopper for full size pie crust embellishment!

We got creative topping our wee pies, with scallops, lattice, and cutouts!

For mass production, it would go quicker to stick with one design, but when baking for fun or with kids, getting creative with the designs is what it’s all about.

A pastry wheel helps in cutting the lattice pieces, and the trusty Fletcher’s Mill wooden rolling pin and silicone pastry mats were the perfect tools for rolling out the crust.

(TIP: First, keep your ingredients cold. This is the secret to keeping the crust flaky, so we suggest you cut all the bottom disks, and leave the second disk of dough in the refrigerator until you are ready to make the tops. Also, take care not to roll the crust too thin, or the pies will break when taking them out of the muffin tin! It is best to let them cool a bit in the pan , then use a small offset spreading spatula to gently lift them out and onto a cooling rack to complete the cooling process so that the bottoms don’t get soggy.)
Try these pies at home, and tell us about it in the comments!
