Toolbox Tuesday: One Marble Rolling Pin & One Open Springtime Window!

toolscopy

Spring Window Pies 2

by Tina LeBaron, Kitchen Store Specialisttina

As far as pie making goes, I still consider myself in the “novice” stage. However, I have acquired a few tricks, of which I’d love to share with you now, that make me quite confident I’ll be moving up to the “skilled” pie maker level after a few more rounds of trial and error while tampering with recipes. For any beginners out there interested in making pies, let me tell you the most helpful factor I’ve learned in making a successful crust – cold. Unlike other baking norms, like say for cookies where room temperature butter is important, keep your butter cold. Put your bag of flour in the freezer for a bit before beginning.

IMG_9887

And, you can even opt for a nice heavy marble rolling pin that will hold its chill while you roll out the dough. When working with pie dough, it gets quite sticky as it warms, and the more you work with it, the warmer it gets. Of course you could chill your rolling pin in the fridge or freezer, but mine at home sits on my kitchen windowsill.

IMG_9928

On one of those very first sunshiny, brisk spring mornings of the season, two things happened that set me up for absolute pie crust success. One, I was finally able to open the kitchen window for fresh air. Two, a recipe for hand pies scrolled across my Facebook news feed (thank you justataste.com!). With a large board set over my sink for plenty of rolling space, the cool spring air blowing directly on my work space not only kept my rolling pin cold, but my dough as I worked with it as well! It became incredibly easy to take my sweet time as I rolled, cut, filled, and prepared each and every little handful of personal pie bliss!

IMG_9906

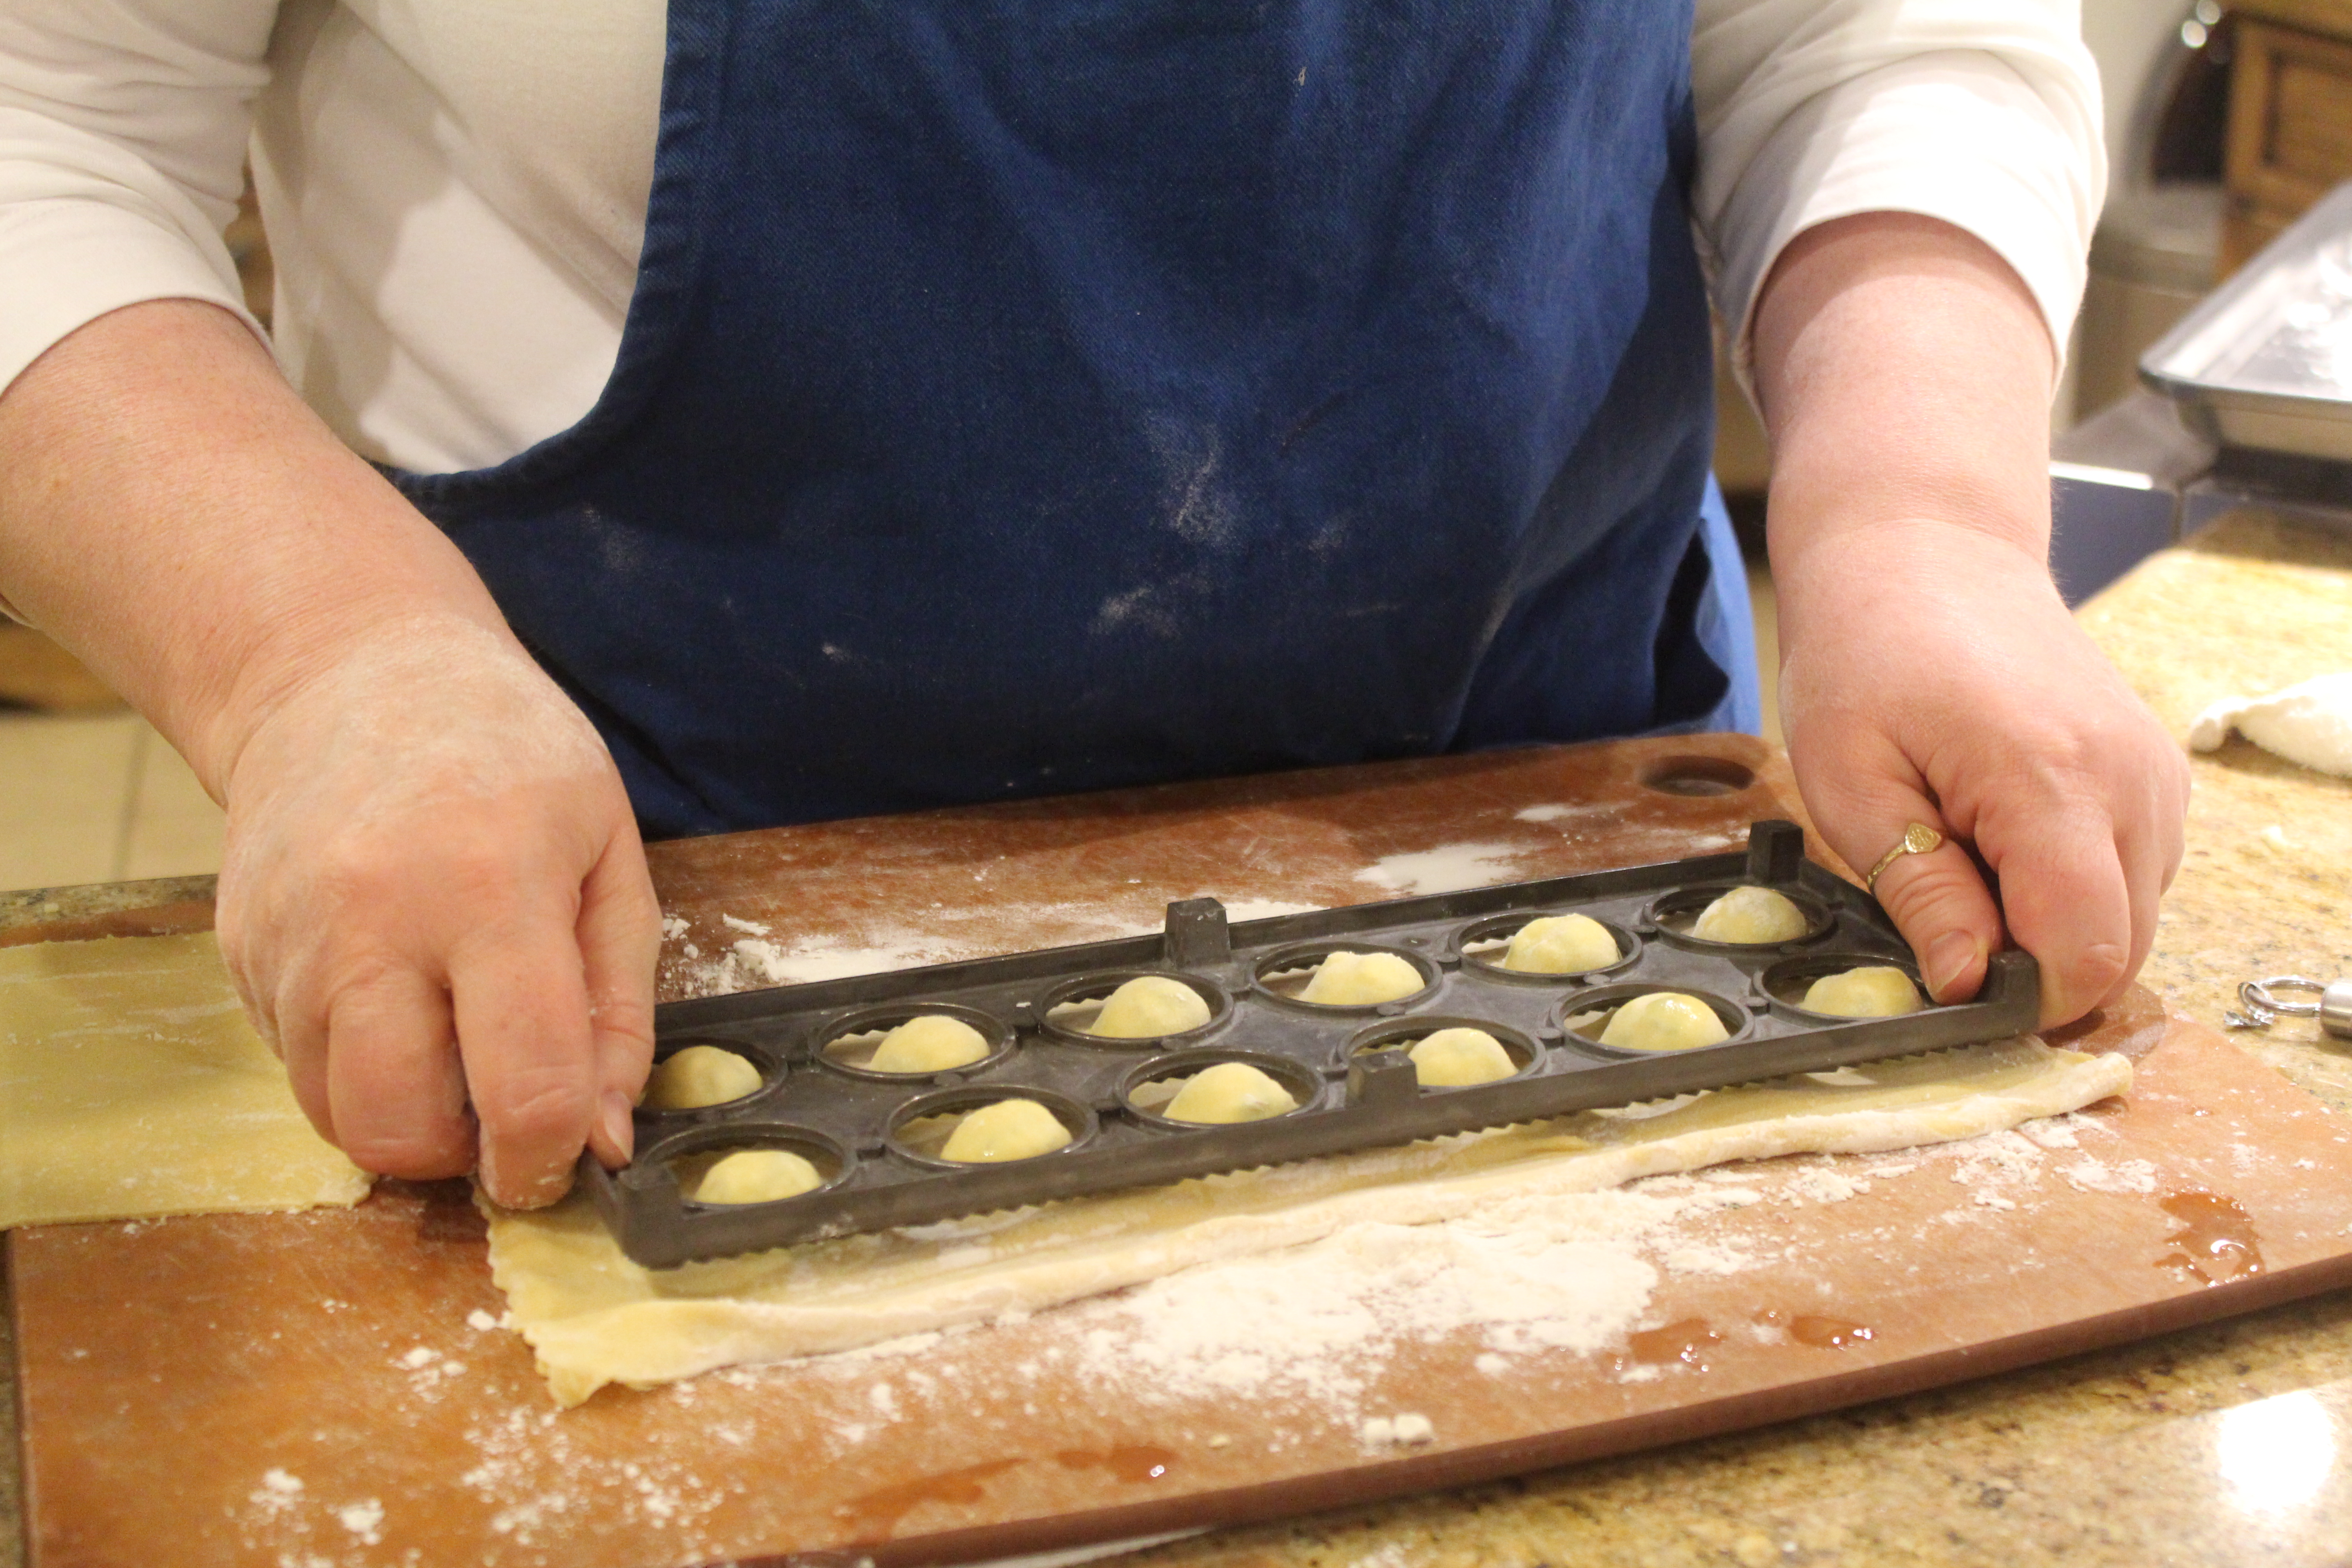
I urge you to try my kitchen window technique before summer arrives. With a marble rolling pin in hand, check out the Strawberry Nutella Hand Pie recipe from justataste.com below. Though any piecrust, whether it be for a whole pie or hand pies, would be great in a cool room. You may notice their recipe is topped with crystal sanding sugar, which I didn’t have but substituted powdered sugar instead. I might point out that I also couldn’t have had such an easy time making my hand pies if it weren’t for my Norpro board scraper, Silpat mat, and round fluted cutters!

Strawberry Nutella Hand Pies

Yield: Makes 10 (3-inch) hand pies

Prep Time: 1 hour (includes chilling)

Cook Time: 15 min

Ingredients:

For the dough:

2 cups all-purpose flour

1/2 teaspoon salt

1/2 teaspoon baking powder

1 cup (2 sticks) cold unsalted butter, cut into cubes

1/2 cup cold sour cream

For the filling:

3/4 cup Nutella

2 cups diced strawberries

2 teaspoons all-purpose flour

1 large egg

Crystal sanding sugar (optional)

Make the dough:

  • Whisk together the flour, salt and baking powder in a large bowl.
  • Add the cubed butter to the bowl and use your fingers to work the butter into the flour until the mixture is the consistency of wet sand.
  • Stir in the sour cream (the dough will be very wet), and then turn the dough out onto a well-floured work surface.
  • Knead the dough a few times until it comes together, adding more flour, 1 teaspoon at a time, if the dough is too sticky to handle. Roll the dough into an 8×10-inch rectangle and dust both sides with flour before folding it into thirds as if you were folding a letter.
  • Rotate the dough 90º and roll it out again into an 8×10-inch rectangle. Fold the dough again into thirds then wrap it securely in plastic wrap and refrigerate it for at least 30 minutes while you make the filling.

IMG_9907

Make the filling:

  • In a small bowl, combine the diced strawberries with the flour, tossing to combine. Set aside.

Assemble the pies:

  • Preheat the oven to 425ºF.
  • Remove the dough from the refrigerator and unfold it onto a well-floured surface, rolling it out to a 14×14-inch square.
  • Using a 3-inch circular cookie cutter or cup, cut out as many circles as possible. Re-roll the scraps and continue cutting out circles until you run out of dough, ensuring you end up with an even number of circles. (You should have approximately 20 3-inch circles.)

IMG_9909

  • Place six of the dough circles on a Silpat or parchment paper-lined cookie sheet. Spread a portion of the Nutella in the centers of half of the dough circles leaving a 1/4-inch border around the edges.

IMG_9915

  • Spoon a small portion of the strawberries atop the Nutella. Place a second dough circle atop each filled circle then use a fork to crimp the edges together, sealing each pie.

IMG_9918

  • Whisk together the egg with the water to make an egg wash. Brush each pie with the egg wash, and using a sharp knife, cut two or three vents on the top of each pie. Sprinkle the pies with crystal sanding sugar (optional).

IMG_9917

  • Bake the pies for about 15 minutes, or until they’re golden brown.
  • Remove the pies from the oven and allow them to rest for 10 minutes before serving. Repeat the filling and baking process with the remaining dough circles.

IMG_9927

Welcome Spring!

by Cheryl Shaffer, Chef Instructor

Spring has officially arrived on the calendars, and even Mother Nature is trying to give us a sneak peak by reigning in the cold, (at least a little!), and whisking away the ice and darkness of winter. Spring is here. The days are longer, the sun a little brighter, the sky bluer and hopefully, the welcome of Alaskans as we greet each other after a long winter is a friendlier and happy note to your day.

Last week, we explored the joys of deviled eggs to share with our patrons. This week, we’ve made delightful baby animal cookies on a lollipop stick. We started with chicks, then bunnies and ended with ducklings. Credit goes to the website, HowDoesShe.com, for creative ingenuity.

IMG_0703

For the Cheeps: You’ll need a package of round sandwich cookies. We used Golden Oreos, but any type will work. Carefully push a lollipop stick, (the cookie sticks are too thick for this project), then press down on the cookies to secure the stick inside. You’ll want to be gentle, the cookies snap easily, but you can press them back into their cream filling and they worked fine for this project.

IMG_0055

Melt a package of yellow candy melts in a medium sized bowl, in the microwave oven, according to package directions. We found that the initial melting time took about 1.5 minutes, adding bursts of 15 second melt times, to keep the candy at the perfect consistency.   Using a spoon, stir the melts until all of the candy is melted into a nice liquid, and carefully pour the candy over the cookie, until it is completely coated, and allow the excess to drip off. Place the coated cookie onto a sheet of parchment paper. While the coating is still wet, place two candy eyes and half of a Nerd jelly bean candy, cut widthwise, for the beak. Continue with the rest of the cookies. Allow to cookie cool completely. We placed ours on a parchment lined cookie sheet and put them into the freezer for 15 minutes to set the chocolate.  We had a little bit of the yellow candy melt left over. When it was thickened, but not completely hard, we took a small amount and rolled it into a small tube shape, and pressed it against the top of the Cheep’s forehead, like a cockscomb. Once completely cooled, wrap the Cheeps in a cellophane bag and tie it closed with a cheerful ribbon.

IMG_0064

For the Ducklings: Use the same steps as for the Cheeps, but mix ½ bag of yellow melts with ½ bag of marshmallow flavored melts. Coat the cookie lollipops with the mixture, shake off the excess, place the candy eyes and this time, use half an orange Nerd jelly bean, cut lengthwise, for the beak- and we shook yellow sugar sprinkles over the whole cookie. Again, allow them to set on a parchment lined cookie tray. You can speed up the process using the freezer for about 15 minutes, then wrap them in the cellophane wrappers and tie a bow with ribbon.

IMG_0056

For the Bunnies: This time, you’ll use the plain white candy melts to coat the cookie lollipops, shake off the excess and place them on a parchment lined baking tray. You’ll want to place the eyes and the little hard candy bunny head for the nose, while the coating is still wet. Continue until all of your cookies are coated. Now comes the fun. We used a tube of  black gel frosting to draw on the bunny smiles.

IMG_0088

We took sugar wafer cookies, and removed the outer layers of the wafers and actually used the legs/feet of the Gnome cookie cutter that we sell in the store, to shape the bunny ears. Using a pair of tweezers, dip the ears to coat them in white candy, and carefully adhere them to the cookie, just above the eyes. You’ll have to hold each one for a moment, in order for them to stick. Use a little touch-up melt on the end of a toothpick to cover any bare spots from where the tweezers held the ears. You can also add a few whiskers to each side of the nose with a small dip of the coating and a toothpick. When the melt is dry, we used a toothpick to pick-up a little of pink cupcake decorating dust to give the ears a little dimension and color. Allow them to dry completely, then wrap them in cellophane and add a bow tie.

IMG_0095

Tagged

If you prefer a pickle in your deviled eggs…

IMG_0859

Just when you thought we’d twisted all we could from deviled eggs, Chef Lisa gets us all in a pickle – but if you’re wondering if it’s dill or sweet she prefers, it’s not at all what you’d expect – and the results are both darling and delicious!

by Chef Lisa Chang

Five eggs, hard boiled

1/2 tsp chopped pickled ginger

1/2 tsp chopped pickled mango

1/2 tsp hot chili paste

3 Tbsp Japanese Kewpie Mayo

1 tsp dry hot mustard powder

1 Tbsp pickling liquid from your favorite pickled product

1/2 tsp Smoked AK Pure Sea Salt

Fresh ground Black Pepper to taste

Place refrigerated eggs into a pot of cold water bring to a rapid boil, cover and continue to boil 8 mins. Remove from heat and allow to sit, covered, an additional 12 mins. Run eggs under cold water until cool enough to handle. Remove shells under running water.

IMG_0811IMG_0813

Using a sharp knife, gently cut egg white around center yolk. Pull off one half of white and remove whole cooked yolk. In small bowls, prepare dyeing mix by combining 3/4 cups cool water and 1 drop of food coloring. Add halved whites to die baths and allow to soak for 45 minutes – stirring occasionally to avoid tips that may peak out of the liquid – or until desired color is achieved.

IMG_0835
Prepare filling:
Dice pickled ginger and mango, add to egg yolks, mayo, mustard, chili paste, pickling liquid and salt. With a fork, mash and blend all ingredients together, cover and refrigerate until halves are finished coloring.

IMG_0843

Remove egg halves from die baths and allow to dry on a cooling rack until drips have stopped.

IMG_0847

Using a portion scoop, fill each ‘hole’ with a scoop of filling.

IMG_0848

Garnish with Cilanto leaves and an additional sprinkling of Smoked Sea Salt and cracked pepper.

Serve chilled on a deviled egg platter.

DSC_1088

Side Note: While we’re talking dyed eggs, we also love using food dyes to color the outside of Easter Eggs. Turmeric for yellow hues, red cabbage for blues and beet juice for warm tones. You can also use beat juice to color the whites of your deviled eggs, like these Curried Mustard Eggs with Dill, though we haven’t tried the other two, which may overtly alter the overall flavor of your egg – so stick with the one drop of food coloring like Chef Lisa suggests.

DSC_1098

Tagged

Toolbox Tuesday: Ravioli Press

toolscopy

By Lucy Gibson, Chef Instructor

IMG_9620
Making pasta is a really fun activity that everyone in the family can participate in, particularly making raviolis! You can make pasta dough itself on your countertop or using a kitchen aid mixer.
With the countertop method, you start with a flour well and break the eggs into the well, using a fork to gently mix the eggs into the flour. It can get a little messy but it is well worth any mess that is made. Once the pasta dough is made it needs to rest for a while. This is the perfect time to start to make the sauce or the filling for your ravioli. We like to make a combination cheese and spinach filling for our ravioli and serve it with a homemade marinara sauce. We also make a cream and garlic sauce for homemade spaghetti.

IMG_9618

Once the dough is ready, you can begin to roll it through a pasta roller. A traditional roller clamps to your countertop and uses a hand crank to move the dough through rollers that can be moved progressively closer again and again until the sheet reaches your desired thickness. Electric hand mixer attachments can also be used, freeing up your second hand for catching the pasta sheet at the other end!

IMG_9623

There are so many ways to use the pasta: spaghetti, linguine, ravioli, lasagna- it can be an great way to spend time together and create a meal. It may not always look just the way you planned (particularly if little hands are helping), but it will be delicious and everyone will know they helped.

The ravioli maker with press is the best tool I have found to use in our kitchen for the hands on ravioli making.

IMG_9627
You just lay the pasta on the tray and press gently to make little indents in the pasta.

IMG_9630
Then, using a small cookie scoop, scoop the cheese mixture into the pasta indents and gently push into place.

IMG_9635

With a small bowl of water handy, dip your fingertips into the water and gently dab the pasta in between each pocket of filling.

IMG_9636

Put the other layer of pasta on top, press into place,

IMG_9638

turn out onto floured board,

IMG_9640

IMG_9642

press with the template,

IMG_9646

and cut into ravioli portions.

IMG_9651

Your delicious little pasta pillows are ready to be cooked and served with your favorite sauce!

Tagged

Smokin’ Devilled Eggs

IMG_0012

by Tina LeBaron, Kitchen Store Specialist

Ingredients

6                      Boiled extra large eggs

1                      Smoked salmon filet

2 pc                 Smoked bacon, cooked & minced

3 Tbs              Red onion, minced

2 Tbs              Sour cream

1 Tbs              Mustard

½ tsp              Summit Spice Ancho Chipotle powder (optional)

Salt & pepper, to taste

Summit Spice Smoked paprika & any fresh herb on hand, for garnish

IMG_9989

First, bring eggs to room temperature or place in a bowl of hot water for 10 minutes while prepping the other ingredients. Next, gently place eggs in a medium saucepan and cover one inch over the eggs with water. Bring to a rolling boil then remove from heat. Cover for 19 minutes, or use an Eggsact egg timer until thoroughly cooked. Place eggs in an ice bath until cooled enough to work with.

IMG_9991

Peel eggs under cool running water. Next, slice the eggs lengthwise, placing yolks in a medium sized bowl. Mash the yolks with a fork, spoon, or ricer. Add the minced bacon, red onion, sour cream, mustard, and seasonings. Mix until thoroughly combined.

IMG_9999

Use a spoon, cookie-scoop, or piping bag to portion the mixture back into the sliced eggs.

IMG_0010

IMG_0011

Next, flake apart the smoked salmon to top each egg as desired. Garnish with smoked paprika and chopped herbs.

IMG_0009


Tagged ,

Toolbox Tuesday: Egg Poaching Pan

toolscopy

By Claire Mothershead, Appliance Specialist, Mom and Eggs Benedict Enthusiast

Induction. People think it’s a new thing but it’s not. I grew up with an induction cooktop in my childhood home. The cooktop is over 30 years old now and 6 years ago when I built my own house I was sure to include an induction cooktop as well. Induction is a way of heating your pan. It has a generator that excites the molecules in your pan which causes heat and allows you to have greater control over your heat vs. a standard electric cooking surface (one with coils or a glass and coil top) yet has the control of a gas cooktop but allows for safer cooking. For example, I don’t have to worry about accidentally turning on my cooktop because it will not turn on unless a pan made with ferrous material is making contact with it.

IMG_0018

I’m not writing about induction though. I want to tell you about a new pan I found that works on my cooktop! I always get exited when I can find a new ‘gimmicky’ pan that works with my cooktop. With induction, I have to carry a magnet with me to make sure pans will work on my cooking surface. That’s the key with induction, it must be magnetic on the bottom. As a result, there are some pans we sell that I can’t purchase; the egg waffle pan, the Abelskiver pan, the classic Whirly Pop, all the fun pans! One can imagine my excitement when I came across the egg poacher pan made by Norpro.

IMG_0015

My co-workers can attest the excitement I had when I made this discovery. I quickly purchased one and made Eggs Benedict that same night.

IMG_0041

My kids LOVE Eggs Benedict. I am not a fan of making them because I can never get the poached egg right. My eggs are too runny, too well done, fall apart, and most certainly never picture perfect. I tried all the tricks I could find on Google and watched several YouTube videos professing the ‘perfect poached egg’ or ‘easy poached egg’. No amount of swirling water, vinegar or ‘cracking an egg into a smaller bowl first’ could help me with my demise. I gave up. In my frustration I resorted to making fried eggs and covering them up with lots of Hollandaise sauce.

IMG_0024

Just this morning I made Eggs Benedict for my kids before sending them off to school. In less than twenty minutes I had 4 beautiful, picture worthy Eggs Benedict ready to be gobbled up with the help of my new pan.

IMG_0023

The Norpro egg poacher is incredibly easy to use. I added some water to the pan and got to a boil. While the water was heating up my kids sprayed the non-stick inserts with a little cooking spray and put them into the pan. They then each cracked an egg into their insert and we covered it with the glass lid and watched magic happen.

IMG_0016

After a few minutes we lifted the lid and shook the pan. We decided that the ‘jiggle’ was just right and the eggs were done.

IMG_0022

We placed them on our English muffin topped with Canadian bacon and smothered them in Hollandaise sauce. The result, the perfect poached egg!

IMG_0033

IMG_0028

I love my new ‘gimmicky’ pan because it is induction friendly for my cooktop and can also double as a saucepan. My kids love it too!

IMG_0031

Tagged ,

Four Eggstraordinary Recipes

You’ve likely seen the recent fad of cooking an egg inside an avocado half, but Chef Cheryl Shaffer brings a whole new twist by putting the avo – as well as many other delicious combinations – in the eggs! Check out her fun and fancy flavors and add one of these deviled egg recipes to your Easter Menu:

guac

Guacamole Inspired Deviled Eggs

6                hard boiled eggs

½              ripe avocado, scooped out and mashed

½              rib celery, minced

1/8 tsp    Summit Ancho Chipotle Blend Seasoning

½ tsp.      white wine vinegar

1                heel / clove of garlic, minced

2 Tbs        Rondele’ Cheese

1 Tbs        heavy cream

½ tsp       sriracha sauce

½ tsp        salt

1 Tbs        fresh lime juice

1 tsp.       grated fresh lime peel

1 Tbs.       grated parmesan cheese, plus a little more for garnish

Place eggs in sauce pan, cover with water, bring to a boil for

3 minutes, cover, remove from heat. Allow to remain covered for 19 minutes, then dump water and run cool tap water over them. Peel and cut the eggs in half lengthwise, removing the yolk and placing it in a bowl, and the whites onto a plate.

egg

Mash the egg yolks, avocado and the balance of the ingredients together in the bowl. I used a folk and the back of a spoon. Taste and adjust salt / seasoning if needed.

I used a 1 teaspoon sized cookie scoop to fill the egg yolk mixture in the egg white, then grated a little extra parmesan cheese over the tops for a festive look.   Enjoy!


eggs

CHICKALOON CUCUMBER & DILL DEVILED EGGS

great for ST. PATRICK’S DAY

Ingredients:

6               hard boiled eggs, halved

1 tsp.     dried dill weed

1 ½ tsp Summit Chickaloon Chicken Blend Spice

3 tsp.     minced green pepper

6 Tbs.     (heaping) minced English cucumber

½ tsp.     kosher salt

1/8 tsp   fresh ground black pepper

¼ tsp.     white Balsamic vinegar

2 tsp.       red onions, minced

2 Tbs.     whipped cream or heavy cream

2 Tbs.     mayonnaise

2 dots     leaf green food coloring paste

In a heavy sauce pan, place 6 eggs, cover with water and bring water to boil. Boil 3 minutes, turn off heat, cover pan with a lid and leave untouched for 19 minutes. Drain, crack and peel eggs under running water, then place the peeled eggs in a bowl with a sheet of paper towel or a washcloth to allow them to dry.

Slice the eggs in half, lengthwise, and remove the yolks, placing them into a medium sized bowl. Add the mayonnaise and gently mash the eggs with a fork or the back of a spoon. Now add the remaining ingredients, then mix to incorporate. This will be a chunky mixture. Check the taste; you may want to add a little more salt to season it.

Using a 1 teaspoon cookie scoop, fill the holes in the egg whites with the yolk mixture. I found that allowing the eggs to sit after filling, for about 30 minutes, will allow the filling flavorings to meld together. Enjoy!

american

PESTO AMERICANO DEVILED EGGS

INGREDIENTS:

6                 hard boiled eggs, halved lengthwise

1/8 tsp.   The Spice Works Black Truffle Oil

1 Tbs.         Pesto (may need to add an additional 1/8 tsp.)

¼ tsp.         white wine vinegar

¼ tsp.        salt

1 Tbs.       cream cheese, room temperature

2 Tbs.       heavy cream

2 tsp.         butter, room temperature

2 tsp.           grated Romano cheese

1 ½ Tbs.   chopped pecans

Place 6 eggs in a heavy sauce pan, add enough water to just cover the eggs, and bring to a boil for 3 minutes. Cover pan with a lid, turn off heat and allow to sit for 19 minutes. Crack and peel eggs under running water, then place eggs in a bowl with a paper towel to dry the eggs. Slice the eggs lengthwise, removing the yolks. Place the egg whites on a plate.

shells

In a bowl, mix the rest of the ingredients with the yolks, until smooth, using a fork or the back of a spoon. Taste and adjust the seasoning as needed. Use a

½ tablespoon cookie scoop to fill the yolk mixture in the egg whites.


Mediternnn

MEDITERRANEAN SPRING EGGS

INGREDIENTS:

6                           hard boiled eggs, cut lengthwise, yolks removed

1 tsp.                 roasted red bell pepper, minced

½ tsp.               capers, minced

2                         Kalamata olives, minced

½ Tbs.               artichoke hearts, minced

¼ tsp.               basil paste

2 Tbs.                 pepperoni, minced

1 Tbs.                 shredded mozzarella cheese

1 Tbs.                 Rondele cheese spread

3 Tbs.                 heavy cream

1 Tbs.                 grated parmesan cheese

½ tsp.               salt

Place the eggs in a heavy sauce pan, add enough cold water to just cover the eggs, and place on medium high heat, until the water comes to a boil. Allow to boil for 3 minutes, cover and remove from heat. Allow to remain covered for 19 minutes, then crack and peel eggs under cool running water. Place the eggs in a bowl with a paper towel to allow them to dry.

Cut the eggs in half, lengthwise, and remove the yolks to a bowl and place the whites on a plate. Mix the remaining ingredients with the yolks, using a folk or the back of a spoon, until smooth. Taste and adjust the seasoning as needed. ** Note: the basil, olives, capers and roasted bell pepper are all from a jar, and were preserved in an oil / vinegar based marinade.)

Use a ½ Tablespoon cookie scoop or a pastry bag with large piping tip, to place the yolk mixture in the egg whites. Enjoy!


Tagged ,

Tool Box Tuesday: Breville Fast Slow Cooker

toolscopy

IMG_0414

By Chrissy Moff, Kitchen Store Specialist

Time is something we all value. Whether you have all the time in the world, or none at all, the Breville Fast Slow Cooker makes the most of what you have available. I personally have purchased this fantastic item, and like all the Breville products, I have yet to be disappointed.

The fast slow cooker has a large capacity of 6 quarts. This is a great feature for large families, dinner parties and even meal prepping. The 6qt cooking bowl is also non-stick and removable! This makes it super easy for serving and clean up. Some other great features are that it has an easy to read LCD display, pressure cook settings Low Medium and High. Breville also includes a couple heat resistant tools along with a steaming basket and trivet. My personal favorite of the cooking settings would have to be Slow Cook (6 or 8hrs) and Pressure Cook (up to 99 minutes). Both of these make putting together dinner an easy task.

photo 2

One of the greatest feelings is coming home and having dinner already done, with the fast slow cooker I’m able to put chicken (or a roast) into the cooking bowl, throw in some hard vegetables, season and then set the Slow Cook setting for 6hrs. After the time is up the automatic “Warm” setting comes on to maintain the heat of the dish without over cooking. If you are using frozen meats I recommend choosing the 8hr setting. The Pressure Cooking feature is amazing for when you’re short on time and need to pull something together in a rush. I put 4 chicken breasts into the cooking bowl, about 1 cup of water, selected 25mins on high pressure and sure enough, after 25 minutes I had perfectly cooked chicken ready, Remove the chicken and toss in some veggies into the steam basket and trivet. Put it on the Pressure Steam setting and in a few minutes they’re ready to accompany the chicken. Both of these settings eliminate the excuses of not having enough time to make a healthy dinner.

Breville Fast Slow Cooker

With features like Saute/Sear, Steam, Slow Cook, Pressure Cook or Keep Warm, plus a timed cook option- the Fast Slow Cooker combine the functions of multiple electrics to cook your meals just the way you want, in the time you have!

Combined with all the other great features, Breville’s Fast Slow Cooker really does it all. I personally have no complaints and totally love mine. 5 out of 5 stars for sure! Definitely an amazing asset to your kitchen.


One Souffle You Won’t Mind Getting in Lime for…

DSC_0444

These adorably tiny souffles pack a punch with just as much tartness as the fruit that gives them their citrus zing! And while serving them in a lime shell means there is just a few tangy bites- that is all it takes to fall in love with this flavor.

To create the cups, Chef Lisa:

1. first cut a small slice from one end of a washed lime to create a base so that the lime will stand up on its own.

DSC_0418

2. Next she cut the top from the other end of the lime, making sure to leave a good portion of the lime skin while creating an opening large enough to remove the flesh from the inside.

DSC_0420

3.Having the right tools on hand makes all the difference in creating the shell.

DSC_0421

DSC_0424

4. Using both a tomato shark and a melon baller, she alternated scooping and scraping until the inside of the shell is clean of any fruit or spines.

DSC_0425

DSC_0433

DSC_0437

5. Once the shell is clear and smooth inside, it is ready to be filled with souffle and baked.

DSC_0400

The baking process does change the bright green hue of the shell, but the limey aroma and sharp flavor of the fluffy filling are not affected in the least.

DSC_0440

DSC_0448

If you crave more bites than the shell can offer, they are equally delicious served in ramekins.

DSC_0459


Perfect Pressure Cooker One-Pots

IMG_9435

By Cheryl Shaffer, Chef Instructor

Dear Friends,

Once again we find ourselves in the A&P kitchen on behalf of research, our insatiable thirst for knowledge, and a hungry belly. “Choose your catalyst wisely,” is the common thread throughout life, and I’m sure it’s also one of the driving forces behind creating new recipes and finding new ways to use the contents of our pantry to their best advantage, especially when our time is in short supply.

There have been some thrifty sales on roasts lately, so we stocked-up on a beef chuck roast and a beautiful rolled pork roast. Root vegetables are always a good bet for winter meals because they are readily available and store so well.

IMG_9416

Canned broths or stocks and tasty sauces like the Allen & Petersen Family Pantry Picante Sabroso Apple Spread and Chipotle Apple Raspberry Sauce, as well as basic fresh herbs like rosemary, thyme and sage should always be on hand to make a quick meal delicious.

IMG_9548

I decided to use the Kuhn Rikon 8 qt. pressure cooker and see how quickly I could take the beef chuck roast from a gorgeous hunk of raw meat to a delectable, ‘Not Your Mama’s Yankee Pot Roast’ with the help of some vegetables, stock sauces and herbs and a little creative spark. Time to get to work…

IMG_9167

I started with a 3 pound roast. I placed the pressure cooker pan on the stove, over medium high heat, and added about 1½ tablespoons of olive oil. Once the oil was hot, (it should shimmer but not smoke on the surface), I added the roast, which I had salted and peppered on all sides.

IMG_9424

I let the roast brown on all sides, then removed it to a platter to rest while I sautéed two red onions that I’d rough chopped, three celery ribs, cut on the diagonal, 2 cups of baby carrots, four large potatoes, cubed, 4 cloves of minced garlic, 2 jalapeno peppers*, one red bell pepper, roughly chopped and 4 tablespoons of chopped flat leaf parsley.

*I crave spicy foods, so I leave the seeds and inner membrane in the peppers. If you like a little less heat, you can easily remove them before chopping the peppers.

Once the veggies are transparent, I put them into a bowl so that I could deglaze the pan and salvage all of the wonderful, caramelized bits.

IMG_9425

I added one quart of vegetable stock and 2 tablespoons Balsamic vinegar to the pan and allowed it to heat and with a little scraping, it picked-up all of the goodness on the bottom of the pan. I then added 2 tablespoons of butter, a tablespoon of Worcestershire sauce, and returned the meat to the pan.

IMG_9170

I poured ½ of a 16 oz bottle of Chipotle Apple Raspberry Sauce over the roast, and topped it with the vegetables. I use the apple raspberry flavors because the pectin in the apples helps tenderize the meat, and raspberries pair beautifully with beef, giving a piquant, sweet flavor.

I minced 2 teaspoons each of fresh rosemary, thyme, dill weed and sage leaves – if using fresh herbs, remove the stems or woody pieces first – and added them to a teaspoon of kosher salt and fresh ground pepper. Add one cup of tap water, then place the cover on the pan and lock it into place. I adjusted the flame to medium and set my kitchen timer to 30 minutes.

IMG_9426

After about 15 minutes, I noted that the first red line on the pressure top was exposed, which is how we usually gauge the time for vegetables. I figured I’d need about 15 more minutes, so I decided to make some hot water cornbread as a side dish, and to soak up the yummy juices. The cornbread is a family recipe – super easy – and a delicious alternative to making rolls or a loaf of fresh bread.

Hot Water Corn Bread

Heat 1” of vegetable oil in a cast iron pan, a heat it to 350’F. or until you see the shimmer on top of the oil.

Mix:

1 cup of corn meal (I use yellow, but the white cornmeal is fine)

1 onion, chopped fine

3/4 cup of boiling water

1 teaspoon salt

1/2 teaspoon sugar

½ teaspoon garlic powder

½ teaspoon parsley flakes

Mixture will be sloppy.   Use a 1 ½ tablespoon cookie scoop, (the OXO Good Grips worked nicely), to drop the cornbread mixture into the hot oil. It will flatten slightly, and should fry to a golden brown in just a few minutes, turning once. Drain on a cooling rack or paper towels.

  • Note: if you have some bacon drippings saved in your refrigerator, from another recipe, you can add 2 teaspoons to the cornmeal mixture, prior to frying, for added flavor, or add crumbled bacon.

IMG_9429

Ok… it’s been 30 minutes, the second red stripe on the pressure release lid is now visible, and it smells heavenly… time to put an extra long oven mitt on my hand, turn off the stove and gently lift the pressure button to release the steam inside the pressure cooker. This is a time to be extra diligent that your arms are well protected from the escaping steam. If you’re not in a hurry, you can simply remove the pot from the heat and allow it to cool on it’s own, or use an ice bath. I’ve never been patient enough to wait that long, and of course, I’m cooking at meal time, so the family/ friends are HUNGRY NOW, especially because it smells so good!

IMG_9431

Once the steam has released, the top can be turned and you have access to the delicious meal – all cooked in one pot, 60 minutes, including the prep time, start to finish. The only other clean up required is for your prep tools, and that makes you a ROCK STAR!

IMG_9557

We had such rave results for the ‘Not Your Mama’s Yankee Pot Roast’, that we decided to try it with the rolled pork roast the next week, and substituted Picante Sabroso Apple Spread for the Chipotle Apple Raspberry Sauce, and Nappa Cabbage for the jalapenos, red peppers and we added a teaspoon of the J&D’s Applewood Smoked Bacon Salt. Otherwise, we had the same browning, cooking time and delicious results. The apple spread paired so beautifully with the pork, and the pressure cooking made the meat and vegetables fork-tender and so full of flavor – we used homemade rolls to get every drop of gravy from the bottom of our bowls!

Tagged